My Camera Gear and Settings for Landscape Photography
Kyle GoetschOne of the questions I get asked most often is what gear and settings I use when I am out photographing landscapes. Over the years, my setup has become a balance of reliability, flexibility, and portability. The right tools make a big difference, especially when you are working in challenging conditions like coastal seascapes, deserts, or hiking mountains. Here’s a breakdown of what I use and why.

Camera Body
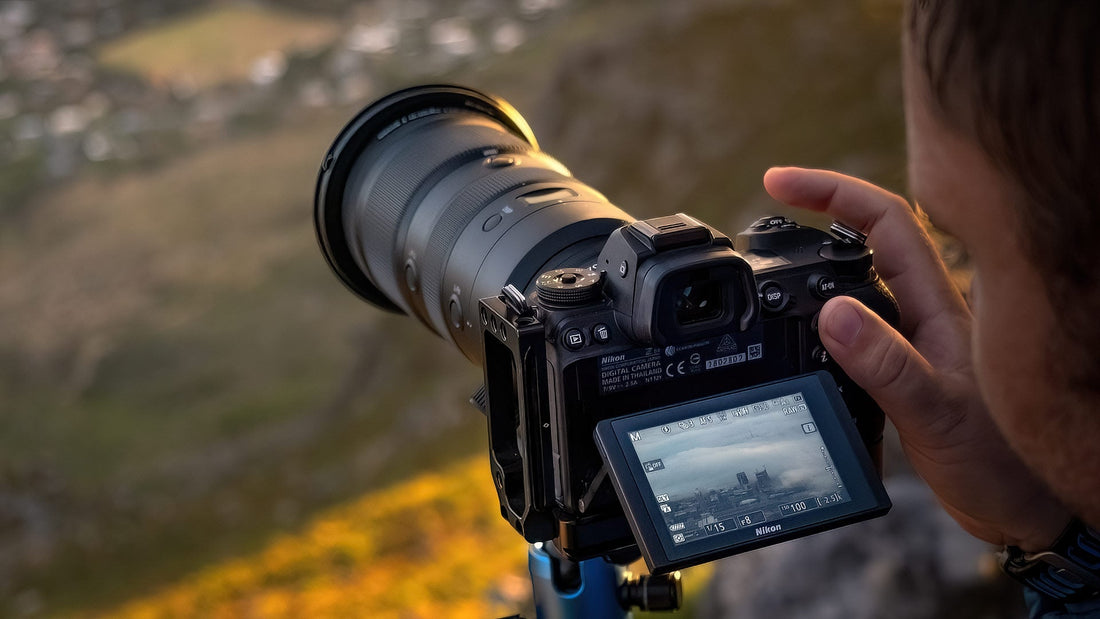
I currently use the Nikon Z6iii. For me, it is the perfect camera for landscapes. The dynamic range is excellent, which means I can recover shadows in a foreground while still holding detail in bright skies, something that is essential when photographing dramatic sunrises or sunsets. The resolution strikes a great balance: large enough to print big fine art pieces with incredible detail, but not so large that file sizes slow me down when traveling. The Z6iii is also lightweight and weather-sealed, which gives me peace of mind when I’m hiking long distances or shooting in rain, mist, or coastal spray.
Lenses
My go-to lenses for landscapes are:
Nikon Z 14–24mm – This ultra-wide zoom is fantastic for sweeping landscapes, dramatic seascapes, and capturing the Milky Way. Its sharpness across the frame and minimal distortion make it a favorite. I think most of my best landscapes are on this lens.
Nikon Z 20mm f/1.8 prime – This lens is incredibly sharp and bright. I use it especially for astrophotography, where the wide aperture lets in more light and produces clean star images. I love it for capturing the glow blue bioluminescence.
Nikon Z 24–120mm – My hiking lens that covers most situations. It is perfect when I don’t want to change lenses often and gives me both wide scenes and the ability to zoom in for tighter compositions.
Nikon Z 70–200mm – This telephoto is excellent for compressing distant mountains or isolating light hitting specific features in a landscape. It is also great for creating more abstract images by focusing on details others might overlook. I use this lens for all my Overberg photos.
This combination of lenses allows me to adapt to almost any scene, whether it is an expansive desert vista or an intimate detail within a forest.

My Basic Camera Settings
For landscapes, I keep my settings straightforward so I can concentrate on light and composition:
Mode: Manual, for complete control over exposure.
Aperture: Usually f/8 to f/11. This sweet spot balances sharpness and depth of field. If I need extreme depth, like a close foreground and distant mountain, I will stop down to f/14.
ISO: 100 or the lowest native ISO. Clean files give me more freedom in editing.
Shutter Speed: Adjusted to balance exposure. This can range from 1/250s for fast-changing skies to multiple seconds when using filters for creative effects. I generally underexpose by -0.3 stops to protect my highlights and colors.
Focus: Single-point autofocus or manual focus. I often use the one-third rule, focusing one-third into the frame, or I focus stack for complex foregrounds.
These are my baseline settings. I adapt them as the light changes, but this foundation ensures sharp, detailed landscapes.

Tripods
A tripod is non-negotiable in landscape photography. I use the Leofoto Ranger LS-284, which is solid, lightweight, and easy to carry. A sturdy tripod is essential for long exposures, low-light shooting, and precise compositions. Over time I’ve found it useful to have two tripods:
A heavier, taller tripod for seascapes and windy conditions, where stability is critical and extra height helps deal with waves and uneven rocks.
A smaller, compact tripod for hiking and traveling, where weight is the most important factor.
This setup gives me flexibility and means I never have to compromise between stability and portability.
Filters
Filters are still a huge part of my landscape photography. I use the NISI Jetmag Pro system, which is one of the best on the market for clarity and color neutrality. ND filters let me create long exposures, turning waves into soft textures or making clouds streak across the sky. A polarizer is essential for cutting glare, boosting contrast, and making colors pop, especially in foliage or reflections. With the Jetmag Pro system, I know I am not losing sharpness or introducing unwanted color shifts.
L-Bracket
I use a SmallRig L-Bracket on my Nikon body. It might seem like a small accessory, but it makes a big difference in the field. It allows me to switch from landscape to portrait orientation instantly without having to tilt the ball head into awkward positions. This keeps the camera balanced directly above the tripod, which is especially important on uneven surfaces. The bracket also provides some extra protection against knocks and scratches, which is helpful when working in rocky or rugged environments.
Backpack
All of my gear fits into the f-stop Lotus 28L pack with the ICU Core 4 insert. The Lotus is an ideal balance of size and carrying comfort, big enough for all my essential gear but compact enough for day hikes. The modular insert system keeps everything organized, while the pack’s weather resistance protects my equipment from rain, dust, or sand. A good backpack is often overlooked, but when you are carrying gear for hours, comfort and durability matter as much as protection.

Planning Tools
Great gear is only part of the equation. Planning is just as important to make sure you are in the right place at the right time. I use a combination of apps:
Windy.com – My go-to for weather and wind forecasts. Strong winds can ruin a long exposure or make tripod stability difficult, so knowing conditions in advance helps me prepare.
PhotoPills – Essential for planning sunrises, sunsets, moon phases, and Milky Way alignment. It gives exact timing and positioning, so I know where to be and when.
Clear Outside – A great app for checking cloud cover at different altitudes. It helps me decide whether it is worth waking up at 4 AM for a sunrise or if conditions are better for astrophotography at night.
Using these apps together allows me to maximize my chances of coming home with strong images.
Final Thoughts
At the end of the day, gear is just a set of tools, but having the right tools makes the process smoother and more enjoyable. My Nikon Z6iii setup with carefully chosen lenses, filters, and tripod gives me the flexibility to tackle almost any landscape situation. With planning apps like Windy.com, PhotoPills, and Clear Outside, I can focus less on logistics and more on creativity. Landscape photography is about patience and preparation, and with the right gear and planning, I am able to capture those rare, fleeting moments that make being out in nature so rewarding.
If you would like to take your own photography to the next level, you are welcome to join me on one of my workshops or book a private lesson. I will guide you through mastering your own gear and help you build the confidence to create images you are proud of.